Jinja Templates in DNAC
In this post I will show you some examples of Jinja templates that might inspire you to create your own. As always my focus is centered on how stuff works rather than how you use the product. I will provide a breif overview of the Template Editor, though. For a user guide, please have a look at the official doc: Create Templates to Automate Device Configuration Changes
One of the main advantages of DNAC is its ability to help you automate certain tasks within your network. One of which is configuration changes. Here DNAC will ensure consistent configuration pushes to your devices while bringing automation capabilities to the table.
Currently DNAC supports two template languages:
- Velocity (Velocity Template Language) or VTL
- Supported with the initial release of DNAC
- Introduced in DNAC 2.1.2.x
DNAC Template Editor
The template editor in DNAC has three screens you will be working in:
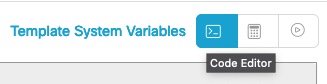
Code Editor
The main screen. Where you write your template. You’ll find it here:
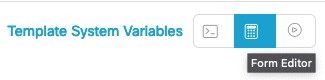
Form Editor
Here you can define the properties of (optional) variables in your template. This is the second botton:
Simulation Editor
Before provisioning the template, you can simulate the function of the template and view the output. The third and final botton:

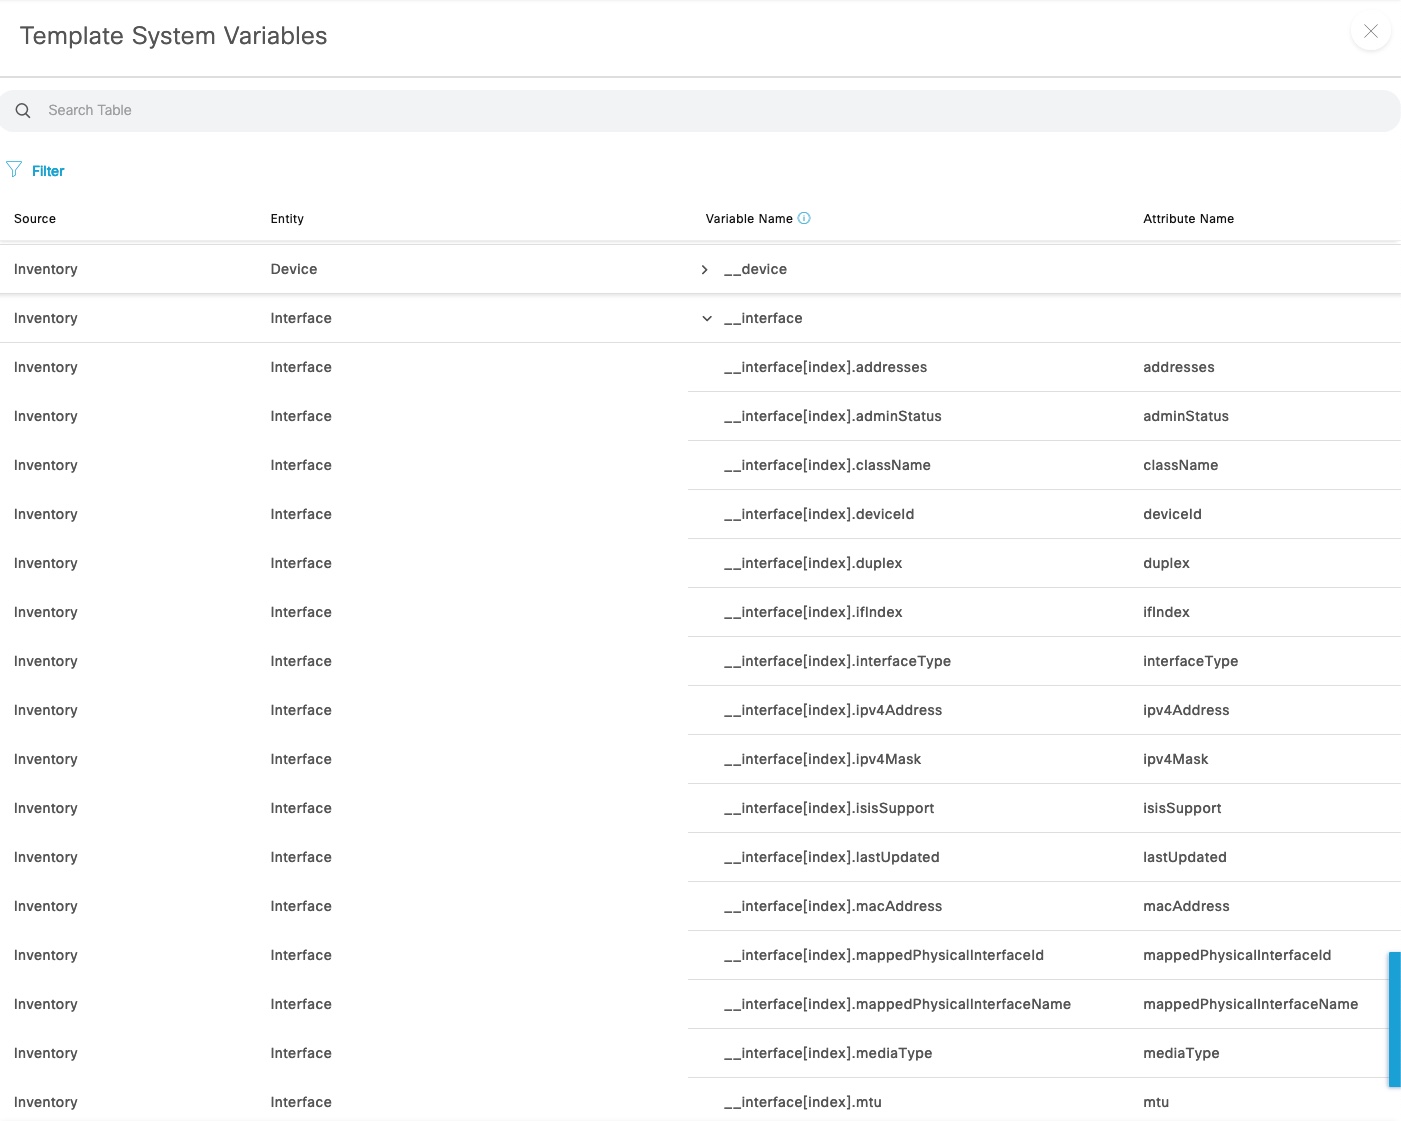
System Variables
System variables is where the data from what DNAC knows is made available for you to use in the templates. I find the “Device” and “Interface” entities to be most useful.
Multicast in Underlay
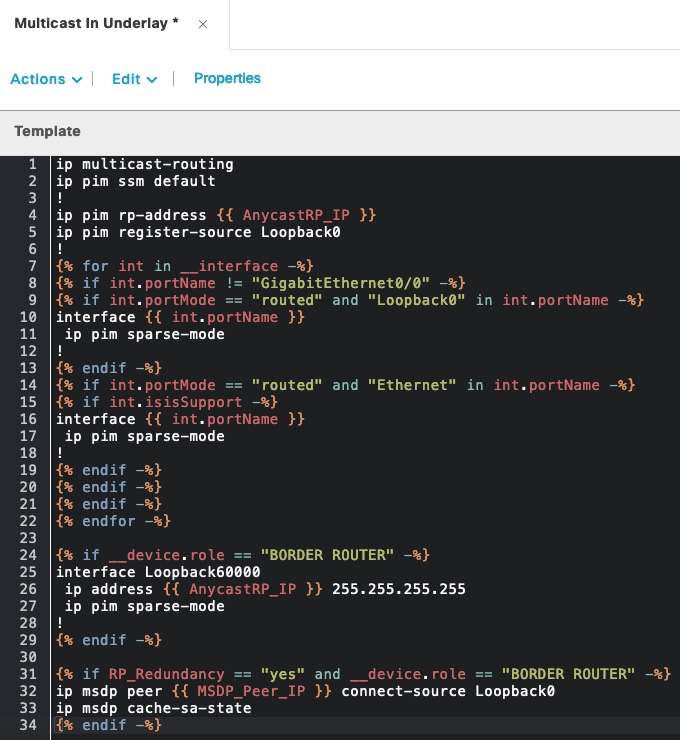
If you don’t have multicast enabled in the underlay (required for multicast in the overlay and L2 flooding), you will need a way to configure multicast in the underlay. Have a look a the following template:
Click to view template in text
``` ip multicast-routing ip pim ssm default ! ip pim rp-address {{ AnycastRP_IP }} ip pim register-source Loopback0 ! {% for int in __interface -%} {% if int.portName != "GigabitEthernet0/0" -%} {% if int.portMode == "routed" and "Loopback0" in int.portName -%} interface {{ int.portName }} ip pim sparse-mode ! {% endif -%} {% if int.portMode == "routed" and "Ethernet" in int.portName -%} {% if int.isisSupport -%} interface {{ int.portName }} ip pim sparse-mode ! {% endif -%} {% endif -%} {% endif -%} {% endfor -%}{% if __device.role == “BORDER ROUTER” -%} interface Loopback60000 ip address {{ AnycastRP_IP }} 255.255.255.255 ip pim sparse-mode ! {% endif -%}
{% if RP_Redundancy == “yes” and __device.role == “BORDER ROUTER” -%} ip msdp peer {{ MSDP_Peer_IP }} connect-source Loopback0 ip msdp cache-sa-state {% endif -%}
</details>
Let's try and break it down...
Some static multicast configuration is used at the top of the template. Only a single variable `{{ AnycastRP_IP }}` is used to statically configure the (anycast) RP. Each node in SD-Access will have a unique Loopback0 interface used for management and VTEP with VXLAN. Here it is used as the register source to register multicast sources with the RP.
Next, a for loop will run through all interfaces using the built-in `__interface` variable. GigabitEthernet0/0 is the IP-based Out-of-band port on a Catalyst 9000 switch. This interface is excluded as it is not of interest. Essentially the template says to continue if the port it not qual to GigabitEthernet0/0.
Now, we check for whether or not the port is routed. Again using built-in variables and data known by DNAC from device sync. Loopback0 is matched along with any routed interfaces that has "Ethernet" in its name. A further condition is checked. We would like only ISIS-enabled ports to be configured with PIM SM so the `isisSupport` variable is checked. This will return true if ISIS is enabled on the port. Based on all these checks we can automatically configure PIM SM on the ISIS-enabled routed ports of the device.
To configure a border router as the Anycast RP, a check is made to see if the device role is equal to "BORDER ROUTER". It if is, a new Loopback60000 interface is configured using the same AnycastRP_IP variable we used in the top of the template (reuse of stuff is great).
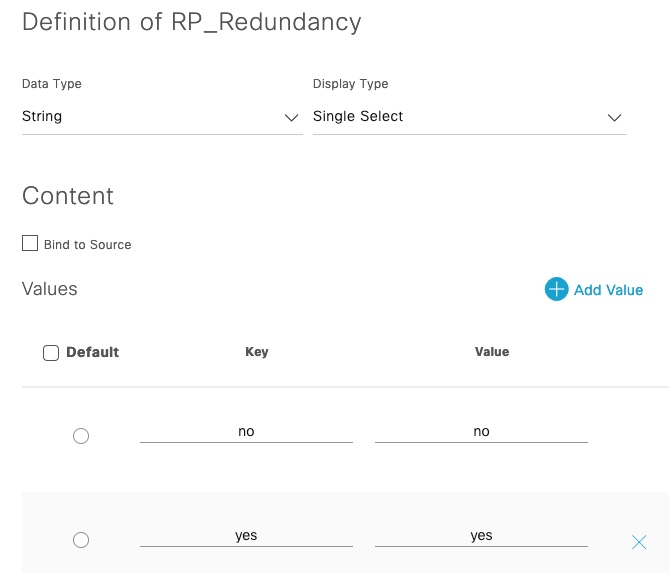
Lastly an optional configuration choice is used to configure MSDP between the the Anycast RPs. The variable used here, `RP_Redundancy`, is defined in the Form Editor page:
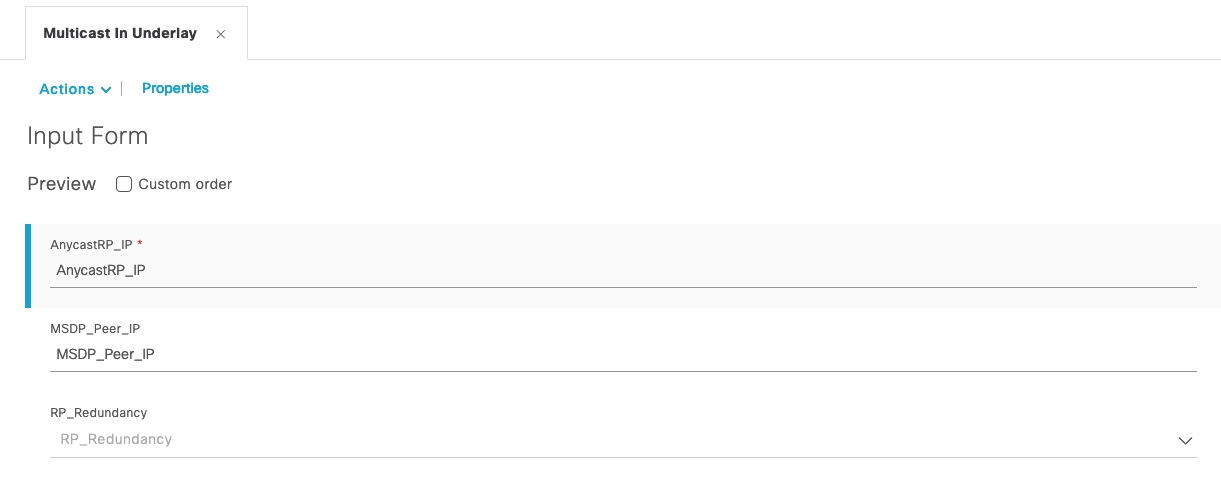
We end up with presenting the user with three variables. Two of them are optional and one is required (AnycastRP_IP): (Note the red asterisks)
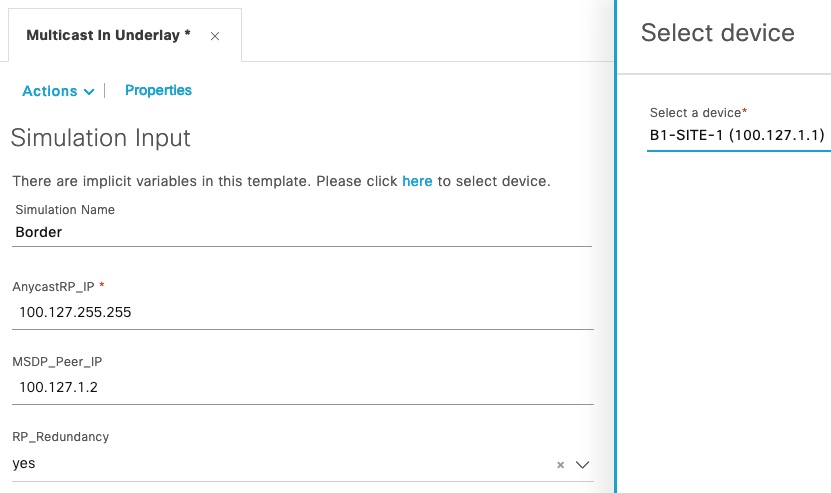
To test and see the result of our template, we use the Simulation Editor to create a new simulation called "Border" and select a border node (B1-SITE-1):
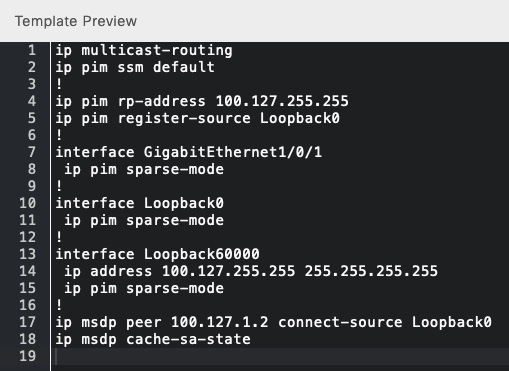
The output when we run it:
And we can create another simulation for an edge node:
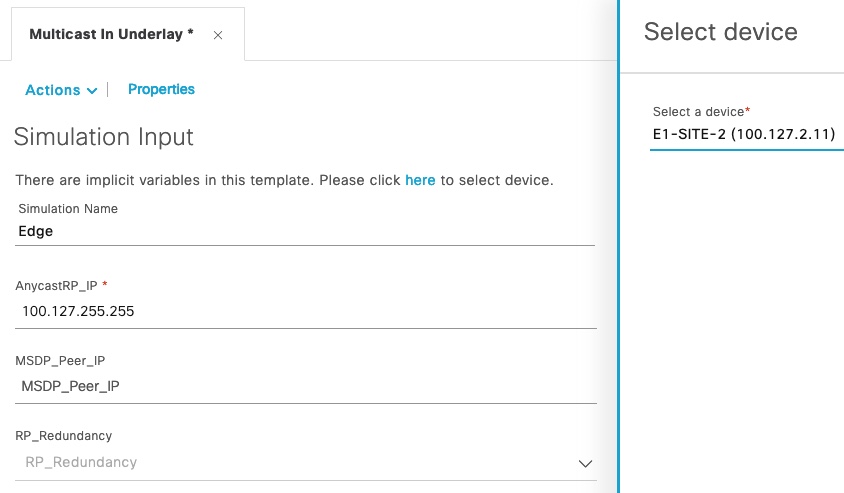
Notice that we only type in the Anycast RP IP address as an edge node would not have the RP role.
And output for an edge node:
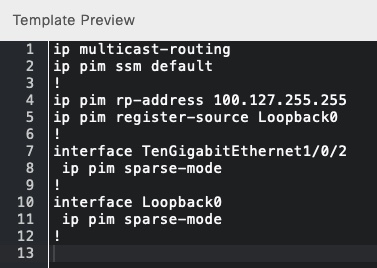
With that we have automated configuration of multicast in underlay for SD-Access nodes.
# Interface Description
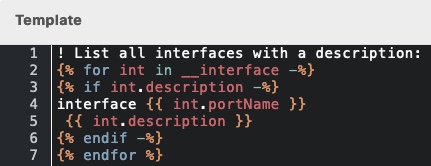
I find that interface description can be a useful attribute to contain useful information about an interface. This can be leveraged by automation in any way you want. Here is how you list all interfaces with a description:
<details>
<summary>Click to view template in text</summary>
! List all interfaces with a description: {% for int in __interface -%} {% if int.description -%} interface {{ int.portName }} {{ int.description }} {% endif -%} {% endfor %}
</details>
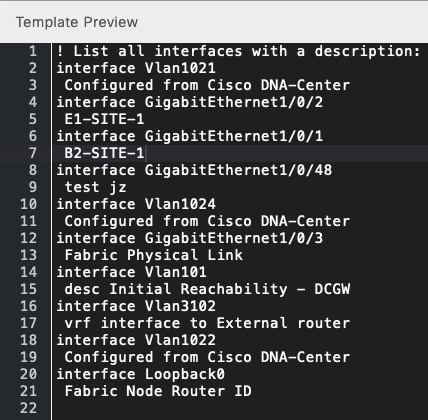
And simulation output for one of my devices:
# Zero Trust
With SD-Access we can create Virtual Networks to segregate parts of the network from each other. But within each VN traffic can flow freely unless you configure a Group-based policy to disallow the communication. This means that out-of-box SD-Access will use a permissive approach for east-west traffic within a VN. If you want to change the default permit to a default of deny, you will need to implement new configurations to your switches. Please refer to the official doc on implementing an <a href="https://www.cisco.com/c/en/us/support/docs/cloud-systems-management/dna-center/215516-trustsec-whitelist-model-with-sda.html" target="_blank">"Allow-List Model"</a>
<details>
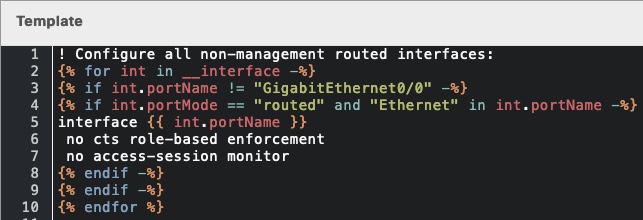
<summary>Click to view template in text</summary>
! Configure all non-management routed interfaces: {% for int in __interface -%} {% if int.portName != “GigabitEthernet0/0” -%} {% if int.portMode == “routed” and “Ethernet” in int.portName -%} interface {{ int.portName }} no cts role-based enforcement no access-session monitor {% endif -%} {% endif -%} {% endfor %}
</details>
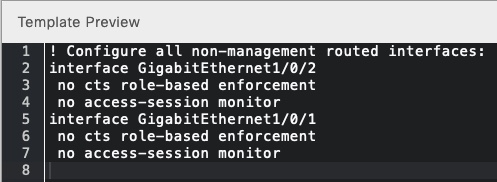
Simulation output:
# Conclusion
DNAC has many uses. In this post we saw how templates can automate deploying various types of configuration based on the Jinja language. Especially the built-in System Variables are useful in creating templates.
I hope you found this information useful.